

Create and manage relationship types
This feature is available in NVivo Pro and Plus editions. Learn more
When you create relationships, you can use the system-created 'Associate' relationship type or you can create your own relationship types.
What do you want to do?
- Add a relationship type
- Delete a relationship type
- Copy a relationship type
- Merging relationship types
- Change the name or description of a relationship type
- Change the direction of a relationship type
- Setting a default relationship type
Add a relationship type
-
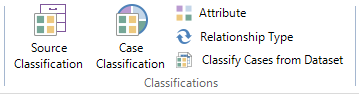
On the Create tab, in the Classifications group, click Relationship Type.
The New Relationship Type dialog box opens.
-
In the Name box, enter a name for the relationship type.
-
(Optional) In the Description box, enter a description.
-
In the Direction list, select a direction—refer to About relationship types (Understanding the direction of a relationship type).
-
Click OK.

Delete a relationship type
-
In Navigation View, click the Classifications button, and then click the Relationship Types folder.
-
In List View, click the relationship type you want to delete.
-
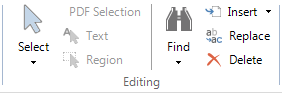
On the Home tab, in the Editing group, click Delete.
The Delete Confirmation dialog box opens.
-
Click Yes to confirm.
NOTE
-
You cannot delete a relationship type that is being used to define a relationship.
-
You can change the name of the relationship type—refer to Change the name or description of a relationship type.
Copy a relationship type
-
In Navigation View, click the Classifications button, and then click the Relationship Types folder.
-
In List View, click the relationship type you want to copy.
-
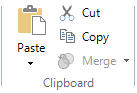
On the Home tab, in the Clipboard group, click Copy.
Keyboard shortcut To copy, press CTRL+C.
-
On the Home tab, in the Clipboard group, click the Paste image. A copy of the original relationship type is added in List View.
NOTE You can change the name of the relationship type—refer to Change the name or description of a relationship type.
Merging relationship types
You can merge one or more relationship types into another existing relationship type. For example, you might have three relationship types: improves, degrades, and impacts and decide to consolidate these into the single relationship type impacts. Any relationships that are based on the original relationship type will be replaced with the merged relationship type.
| Before | After | |
| Relationship types |
|
|
| Relationships |
|
|
To merge relationship types:
-
In Navigation View, click the Classifications button, and then click the Relationship Types folder.
-
In List View, click the relationship type you want to merge into another.
-
On the Home tab, in the Clipboard group, click Cut.
Keyboard shortcut To copy, press CTRL+X.
-
In List View, click the target relationship type.
-
On the Edit menu, click Merge, and then select Merge Into Selected Relationship Type.
NOTE If you want to retain the original relationship types, use Copy instead of Cut.
Change the name or description of a relationship type
-
In Navigation View, click the Classifications button and then click the Relationship Types folder.
-
In List View, select the relationship type you want to rename.
-
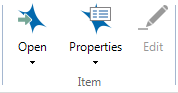
On the Home tab, in the Item group, click the Properties image.
The Relationship Type Properties dialog box opens.
-
In the Name box, enter a new name for the relationship type.
-
(Optional) In the Description box, enter a description.
-
Click OK.
NOTE You can also change the name of the system-generated 'Associated' relationship type—refer to Set application options (Labels tab options) for more information.
Change the direction of a relationship type
-
In Navigation View, click the Classifications button, and then click the Relationship Types folder.
-
In List View, click the relationship type you want to change.
-
On the Home tab, in the Item group, click the Properties image.
The Relationship Type Properties dialog box opens.
-
In the Direction list, select a direction—refer to About relationship types for more information.
-
Click OK.
Setting a default relationship type
The system-generated 'Associated' relationship type is initially set as the default. When you create a new relationship to link two project items, the default relationship type is automatically assigned, but you can select any other relationship type that exists in your project.
You can change which relationship type is set as the default. This is useful if you are planning to create a number of relationships with the same relationship type—other than the existing default relationship type.
To change the default relationship type:
-
In Navigation View, click the Classifications button and then click the Relationship Types folder.
-
In List View, click the relationship type that you want to set as the new default.
-
On the Home tab, in the Item group, click the Properties image.
The Relationship Type Properties dialog box opens.
-
Select the Default Relationship Type check box.
-
Click OK.